
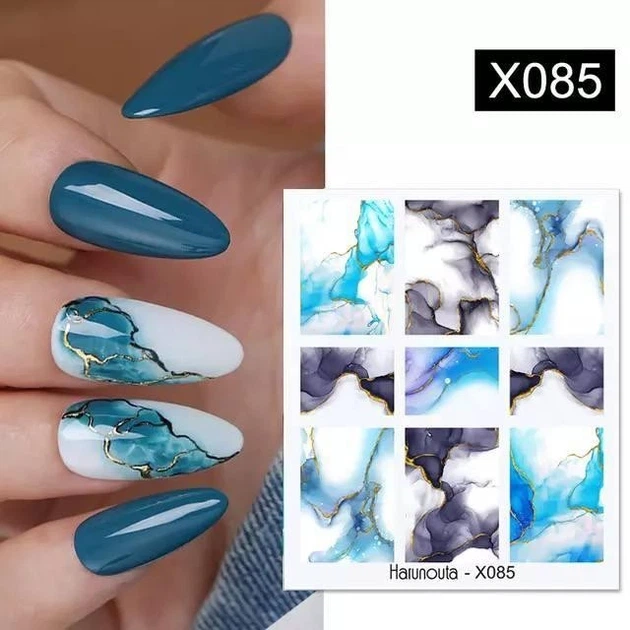
Description
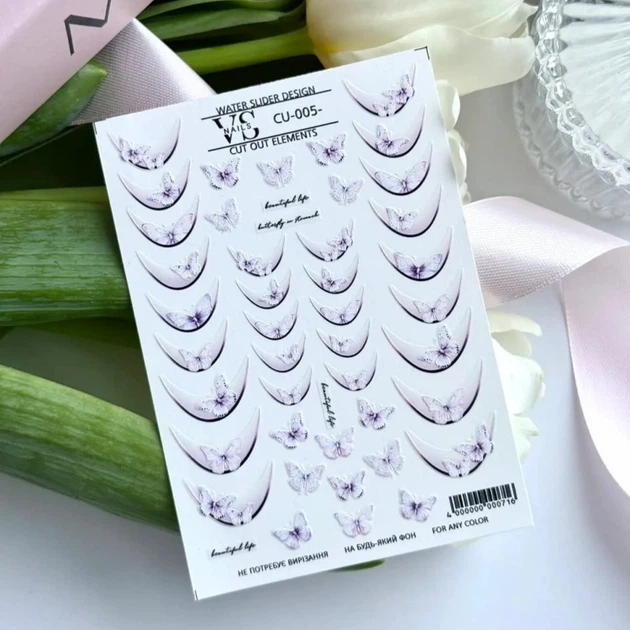
Slider designs are a popular way to decorate a manicure. Ready-made images with colourful patterns can make the nail technician’s work easier and faster.
How to apply a nail slider:
1. Perform the manicure and apply colour.
2. If applying the design over gel polish, remove the tacky layer from the top coat.
3. Cut out the selected design. For a full-nail design, place it against the nail plate and trim it as closely as possible to the nail’s size.
4. Place the slider in water for 10–15 seconds, preferably using tweezers. Alternatively, dampen a sponge with warm water and place the slider on it with the paper side down. This helps avoid excess water and secure the image on the nail.
5. Carefully remove the slider from the water or sponge with tweezers.
6. Use a finger to slide the image to the edge of the backing card, lift the thin film with tweezers and transfer the slider to the nail.
7. Smooth any uneven areas with an orange wood stick, moving from the centre outwards. Blot excess liquid with a sponge.
8. After the slider dries for 10–15 seconds, apply top coat. For gel polish, two layers of top coat are recommended to help the design last.
9. Remove the tacky layer. The design is complete.
Reviews
There are no reviews yet.